Reader setup
Before you start
Run each step in order and move only when the outcome is confirmed.
- Terminal basics
- A lab server address
- Authorization from its owner
- What you will prove
- You can connect to a known lab server and recognize why a changed host-key warning matters.
- Safety boundary
- Never override a host-key warning just to get connected; verify the fingerprint out of band.
Reader path
How to use this article
- Use it when: You need a fixed sequence to make a deployment or configuration change now.
- Expected result: Follow each step and verify the outcome before changing the next layer.
- Start here: Start at the first section and complete every checkpoint before moving to the next.
01 / 05
SSH authenticates both sides
Secure Shell (SSH) encrypts a remote terminal session end to end. Your client verifies the server's identity using a host key, then the server authenticates you — with a password, a key pair, or another method the administrator configured. Encryption protects the conversation from eavesdropping; it says nothing about whether you should be having that conversation with this particular server in the first place, so the two checks are independent and both matter.
`ssh -V` prints your local SSH client's version, which matters because an older client sometimes lacks support for a key type or cipher a modern server requires, or, less commonly, still defaults to something a modern server refuses outright. Knowing your version before you troubleshoot a failed connection saves a great deal of guessing.
SSH normally listens on TCP port 22, though an administrator can move it — another reason "I can reach the server" and "I can reach its SSH port" are separate facts, in the same spirit as the DNS-versus-reachability distinction the next lesson covers in more depth.
Visual walkthrough
Follow three real demo screens
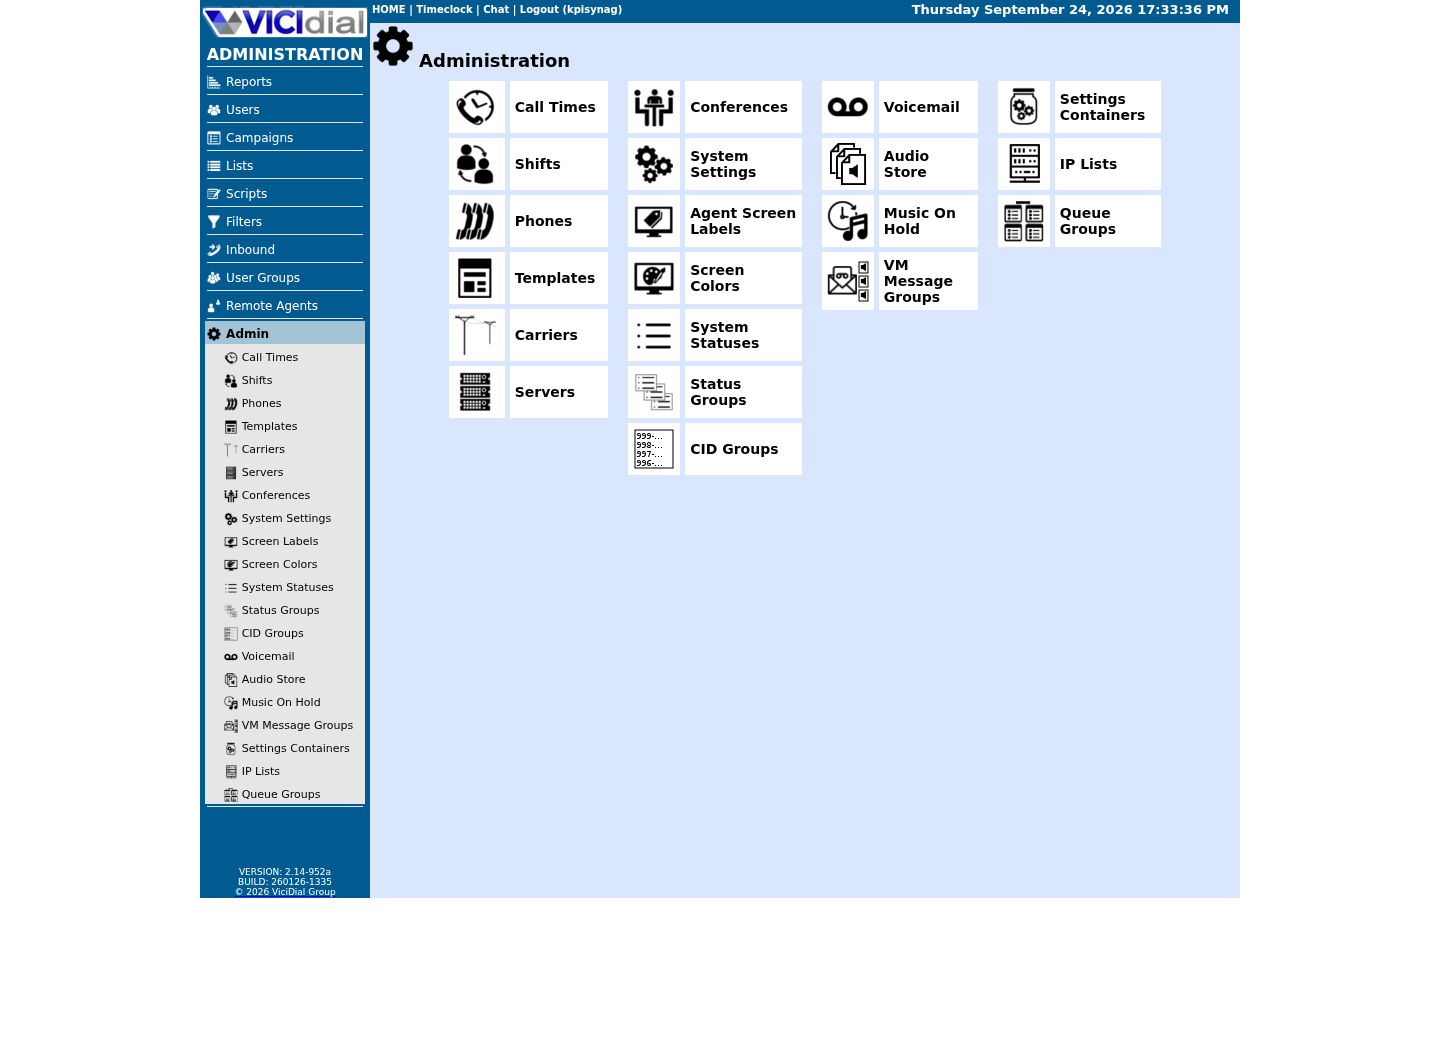
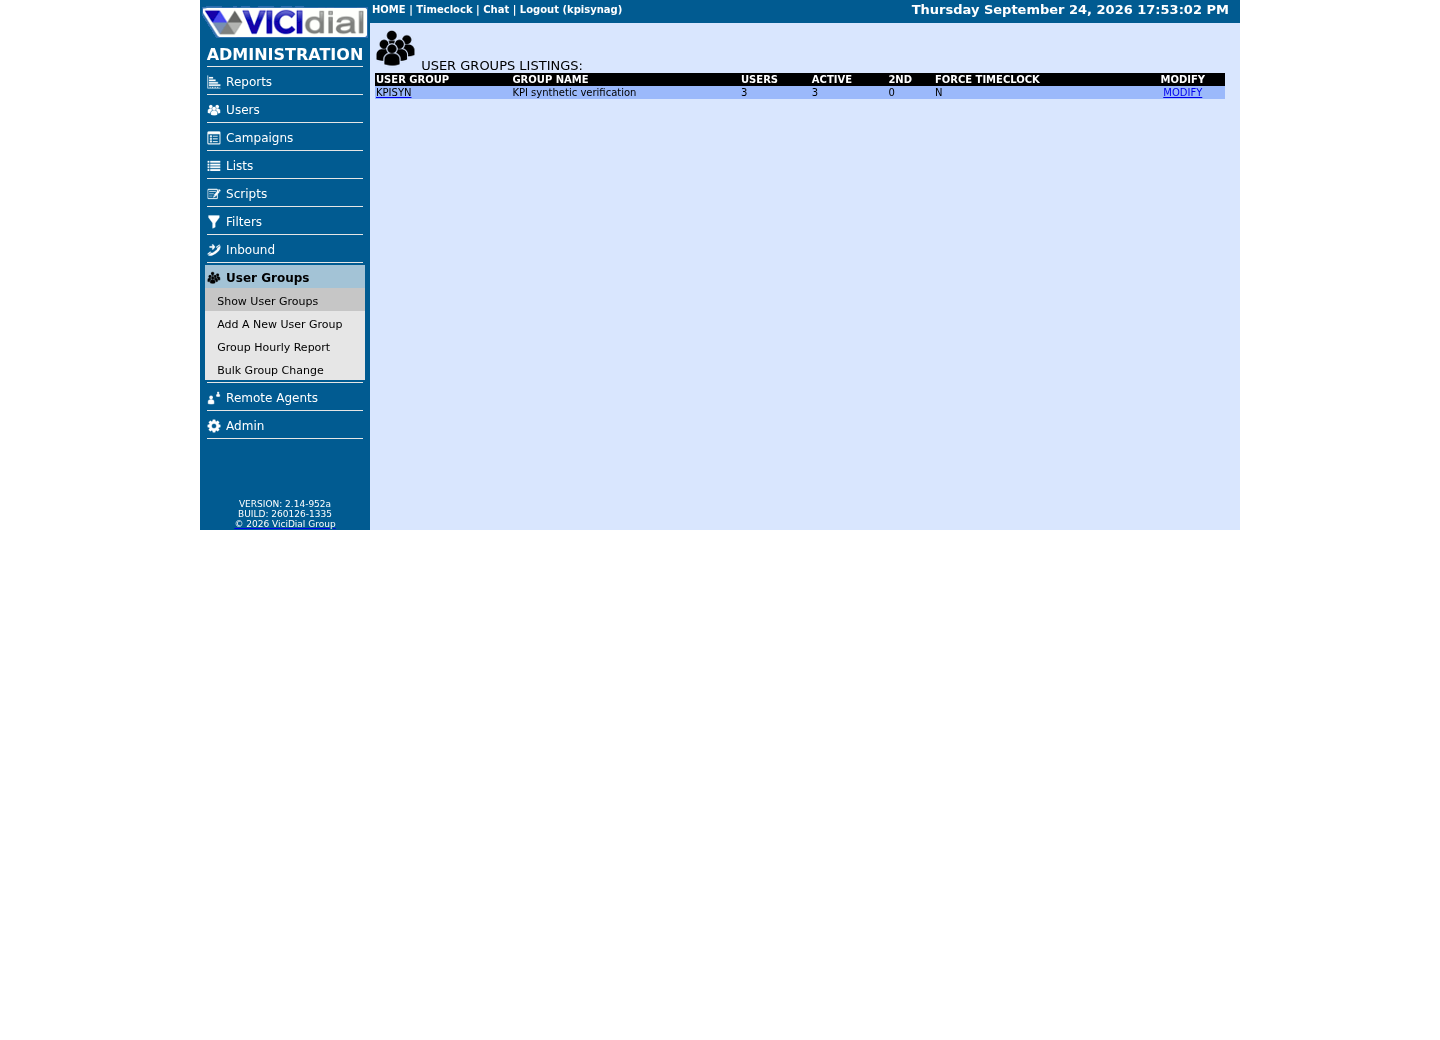
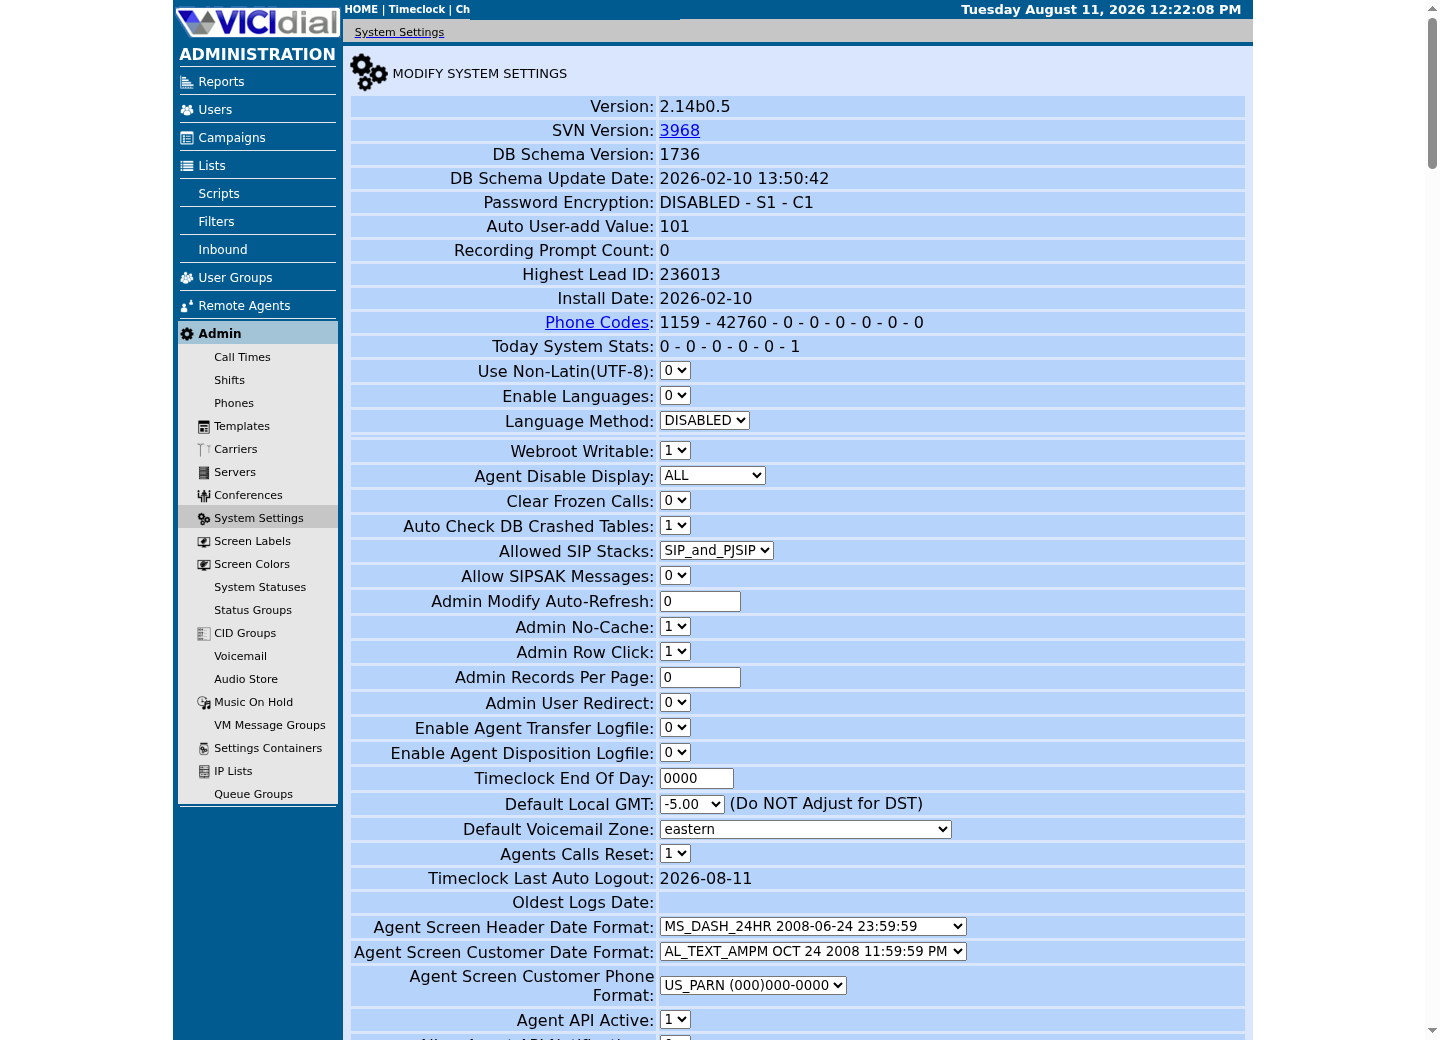
Captured on an isolated VICIdial demo: Administration screens on September 24, 2026, and the idle Agent screen on August 11, 2026. Each caption states its own capture time, and every sanitized image helps you recognize a related screen; none proves that this article's call, command, or result occurred.Use the Administration map
Review user-group boundaries
Inspect system-wide security and API context
02 / 05
Host keys prevent wrong-server mistakes
The first time you connect to a server, SSH asks whether to trust the host key it presents, and after you accept, it remembers that key in your local known_hosts file. A later warning that the key has changed can be entirely normal — after a deliberate server rebuild or a planned key rotation — but it can equally signal a DNS problem, a routing change, or an interception attempt, and SSH itself cannot tell those apart for you.
The only safe response to a changed-key warning is to verify the new fingerprint through a separate, trusted channel — your cloud provider's console, a colleague on a phone call, an internal wiki page — before you accept it. Typing yes because the warning is inconvenient defeats the entire purpose of host-key checking.
A fingerprint is simply a short, human-comparable hash of the full host key — small enough to read aloud on a phone call, which is exactly the property that makes out-of-band verification practical instead of theoretical.
03 / 05
Guided sample: inspect your local SSH records
Your `~/.ssh` directory holds your keys and your known_hosts file, both safe to list and inspect without connecting anywhere. `ssh-keygen -F` searches known_hosts for a specific host without modifying it. The address used below, 203.0.113.10, is reserved by RFC 5737 (a Request for Comments — one of the numbered documents through which the IETF publishes Internet standards) specifically for documentation, so it will never resolve to a real server and searching for it is a harmless way to practice the syntax.
ssh -Vls -l ~/.sshssh-keygen -F 203.0.113.10Captured demo response · 2026-09-23 21:34 UTC. The displayed command is the command that ran; a safe subset label means it was filtered, redacted, or fixture-scoped. Replays only after you select Replay transcript.
- Before you run it
- This is local inspection; 203.0.113.10 is a non-routable documentation address.
- Success looks like
- You see your SSH version and either a matching record or no record for the example address.
- Stop if
- Stop if ~/.ssh permissions or its files belong to an unexpected account.
04 / 05
Guided sample: connect to an approved lab host
This is a template, not a command you can run as printed: 203.0.113.10 and learner are stand-ins for `<LAB_HOST>` and `<LAB_USER>` — the documentation-only address and placeholder account name that the code block below uses so it stays valid, runnable syntax. Replace both with the real address and username your instructor or your own lab environment gives you, and only after you receive them from that host's owner.
`StrictHostKeyChecking=ask` is the safe, default-equivalent setting: it still asks you to confirm an unknown key rather than silently accepting or silently refusing one. Never change that setting to `no` to make a connection error go away — that disables the exact check this lesson exists to teach you to respect.
ssh -o StrictHostKeyChecking=ask learner@203.0.113.10# After verifying the displayed fingerprint through your lab console, type yes.This sample changes a system, contacts an outside service, needs a live call, or would print real data from a shared server, so it was not run on the demo. Run it only where you are authorized, and compare the result with the success and stop guidance.
- Before you run it
- This is a template. Replace <LAB_HOST> and <LAB_USER> — shown here as 203.0.113.10 and learner — with real values from your own lab, and only for a host you are authorized to reach.
- Success looks like
- The presented fingerprint matches a value you independently verified, and you land at the expected shell prompt.
- Stop if
- Stop on any fingerprint mismatch. Never pass StrictHostKeyChecking=no just to make the prompt go away.
05 / 05
Protect credentials and access
For VICIdial specifically, prefer individually named accounts over a shared root login, prefer key-based authentication wherever the host supports it, and keep a documented, approved break-glass process for the rare case when a named account cannot get in. None of that is optional once real customer calls depend on the server staying reachable only by the people who should reach it.
A named account also makes an audit trail possible: when three people share one root login, a change made at 2 a.m. has no author, but a change made by a named account does. That single property is worth the small extra setup cost on any host you intend to keep running past this lab.
- I can explain why a changed host-key warning is not something to click through.
- I verify a new fingerprint out of band before accepting it, every time.
- I know the difference between a documentation-only address and a real lab host I have been given.
Evidence ledger
Verification basis
- The local-inspection sample is a capture: `ssh -V`, `ls -l ~/.ssh` and `ssh-keygen -F` against a documentation-only address never leave your machine. The connection sample is a no-run template because 203.0.113.10 answers nowhere.
Primary references
Sources
- OpenSSH ssh manualOpenBSD · accessed September 23, 2026
- OpenSSH ssh-keygen manualOpenBSD · accessed September 23, 2026