Reader setup
Before you start
Run each step in order and move only when the outcome is confirmed.
- A completed ViciBox Express lab with Asterisk and MariaDB/MySQL running
- Root access (or sudo) on that lab host to create the account and the option file
- No production database — practice only on a disposable lab, never a live system with real customer data
- What you will prove
- You will have a SELECT-only database account and a locked-down credentials file that every later SQL example in this library can reuse safely.
- Safety boundary
- Never grant this account anything beyond SELECT; never reuse VARDB_user/VARDB_pass for scripted queries; treat the option file as a secret even though the account it unlocks cannot change data.
Reader path
How to use this article
- Use it when: You need a fixed sequence to make a deployment or configuration change now.
- Expected result: Follow each step and verify the outcome before changing the next layer.
- Start here: Start at the first section and complete every checkpoint before moving to the next.
01 / 09
Why not just use astguiclient's own database login
`/etc/astguiclient.conf` already holds a working database login — the one astguiclient's own daemons use every second to run your lab. It is tempting to reuse it for a quick manual query, but that account typically has far more privilege than a single SELECT needs, because VICIdial's own software genuinely has to write to its database: recording call results, updating hopper state, and logging agent activity all require write access that a human running an ad hoc lookup does not.
Reusing a high-privilege login for ad hoc, hand-typed queries turns an ordinary typo into a real risk: a stray character in a WHERE clause, a copy-paste mistake, or an unfamiliar command can change data instead of merely reading it. A scoped, SELECT-only account removes that entire category of mistake, because even a mistake cannot write — the database itself refuses the attempt, regardless of what the command actually says.
There is a second reason, separate from accident prevention: every time you type a password into a terminal, or paste one into a script, it can end up in shell history, in a process listing another user on the same box can see, or in a screenshot shared for help. A dedicated account used only for reading, and only through one option file, keeps that exposure contained to a login that cannot do damage even if it leaks.
This same reasoning applies well beyond this one lab. Any time software or a person needs to read data but never change it, granting only SELECT is the correct default, not a beginner's simplification of a more sophisticated real answer — professional database administrators apply exactly this principle under the name of least privilege.
By the end of this lesson, you will have practiced the entire lifecycle of a scoped credential once: creating it, locking its storage down, proving it does what it should, proving it cannot do what it should not, and rolling it back. That lifecycle repeats, in outline, any time you provision access for a new tool or a new person on a real system.
This lesson is also the foundation the rest of this library depends on. Once this account exists, every later lesson that shows you a SQL query assumes you already have it — none of them create it again, and none of them ask you to type astguiclient's own credentials into a terminal.
Visual walkthrough
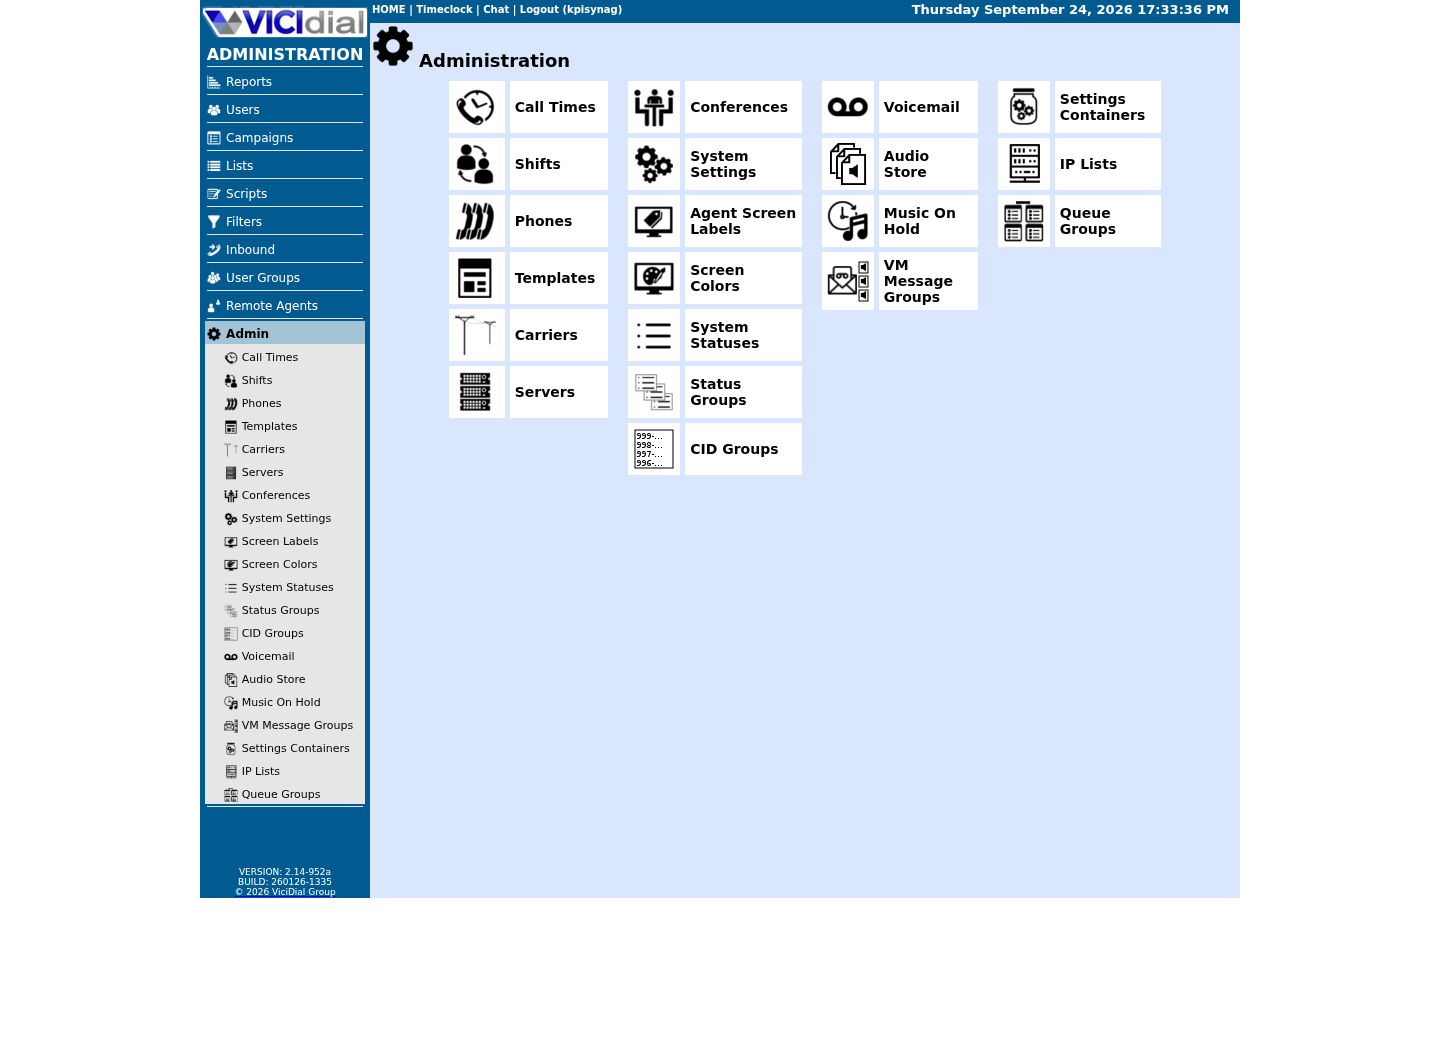
Follow three real demo screens
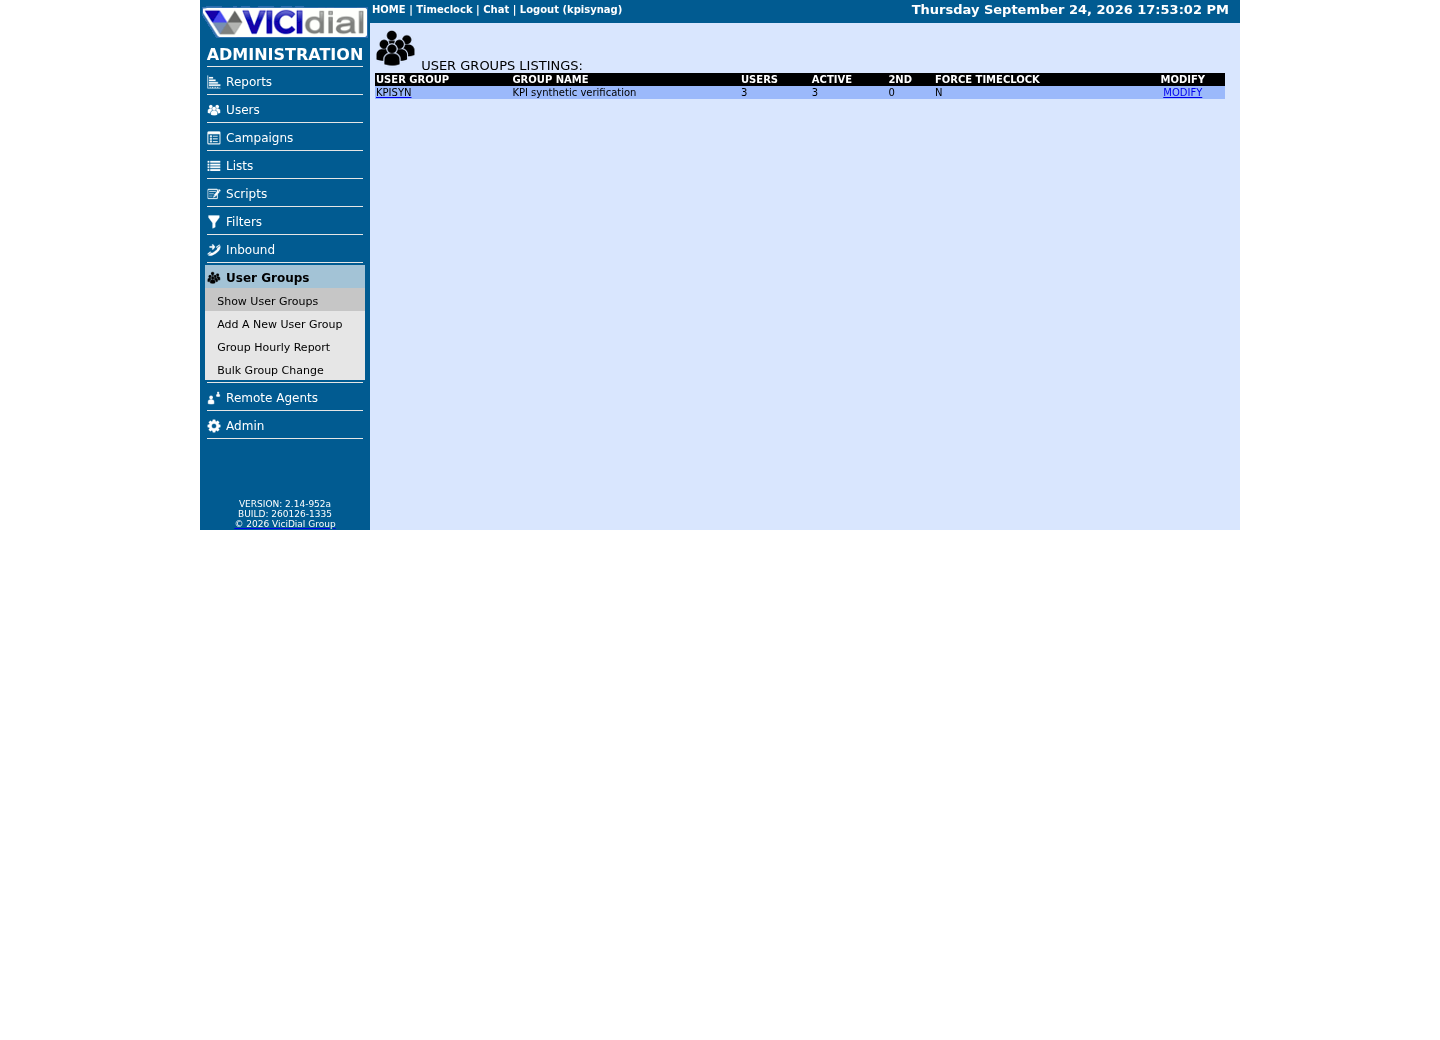
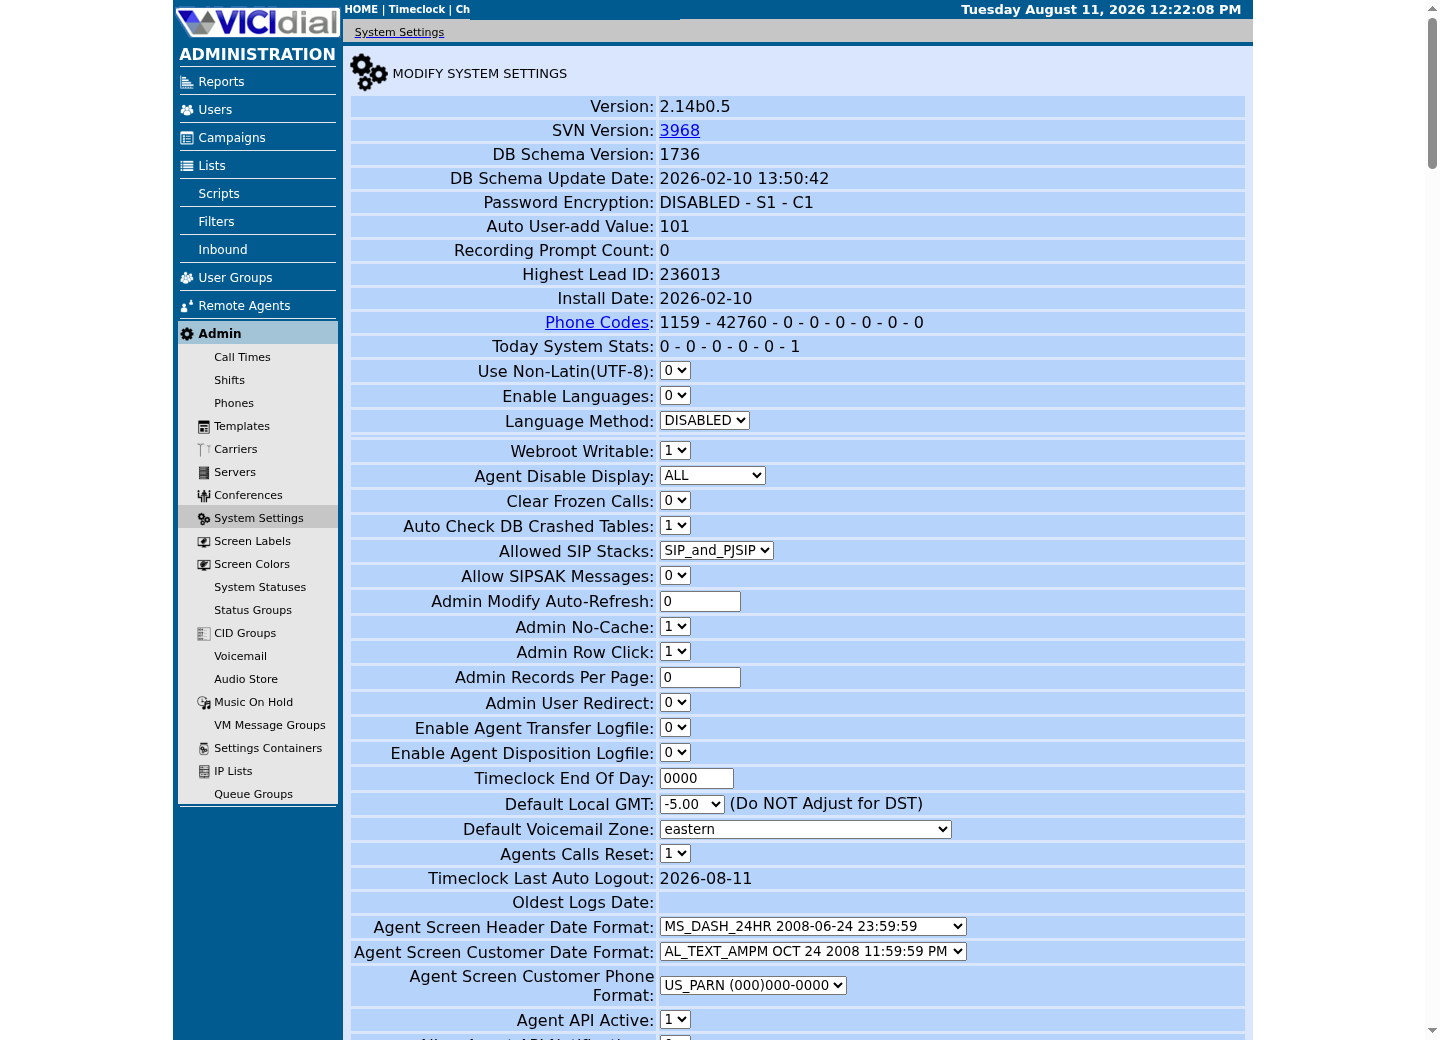
Captured on an isolated VICIdial demo: Administration screens on September 24, 2026, and the idle Agent screen on August 11, 2026. Each caption states its own capture time, and every sanitized image helps you recognize a related screen; none proves that this article's call, command, or result occurred.Use the Administration map
Review user-group boundaries
Inspect system-wide security and API context
02 / 09
Step 1: Find your database name
astguiclient.conf already names the database VICIdial itself uses. Read that one key rather than guessing or hardcoding a name that might not match your build — the file stores every setting as a plain key=value pair, one per line, so a targeted grep is enough; you never need to open the whole file.
grep -E '^VARDB_database\b' /etc/astguiclient.confCaptured demo response · 2026-09-23 21:35 UTC. The displayed command is the command that ran; a safe subset label means it was filtered, redacted, or fixture-scoped. Replays only after you select Replay transcript.
- Before you run it
- Run this as root or with sudo on your ViciBox lab. This greps one key from a configuration file; it changes nothing.
- Success looks like
- One line prints in key=value form, for example `VARDB_database=<your database's name>`. Record that value — you will use it, never a guessed or hardcoded name, in the next step.
- Stop if
- If nothing matches, confirm you are reading `/etc/astguiclient.conf` on the ViciBox lab host itself, not a copy, a backup, or a different server.
03 / 09
Step 2: Create the read-only account
Create a new MariaDB account scoped to SELECT only, on the database you just found. Generate a real password for it — do not reuse any password from anywhere else in this lab. `IDENTIFIED BY` sets that new account's password at creation time; it does not touch any other account, including the one astguiclient itself uses.
The account name `vicigeek_ro` and the host qualifier `@'localhost'` both matter. The host qualifier restricts this account to connections originating on the same machine — it cannot be used to connect from anywhere else on the network, which narrows its exposure even further than the SELECT-only privilege already does on its own.
mysql <<'SQL'CREATE USER 'vicigeek_ro'@'localhost' IDENTIFIED BY '<A_STRONG_PASSWORD>';GRANT SELECT ON <VARDB_DATABASE>.* TO 'vicigeek_ro'@'localhost';FLUSH PRIVILEGES;SQLThis sample changes a system, contacts an outside service, needs a live call, or would print real data from a shared server, so it was not run on the demo. Run it only where you are authorized, and compare the result with the success and stop guidance.
- Before you run it
- Run this once, as the MariaDB administrator — on ViciBox, connecting as the Linux root user typically authenticates over a local socket with no separate password needed; add -u root -p to the mysql command if your build prompts instead. Replace <A_STRONG_PASSWORD> with a password you generate for this purpose alone, and <VARDB_DATABASE> with the exact value Step 1 showed you.
- Success looks like
- MariaDB reports each statement executed with no error. The account now exists, with SELECT privilege on that one database and nothing else.
- Stop if
- An error naming an unknown database almost always means a typo in <VARDB_DATABASE>; re-check Step 1's output character for character rather than guessing a correction.
04 / 09
Step 3: Build the option file
An option file is a small text file the MariaDB client reads on startup for connection settings, so you never have to type them on the command line. Every later SQL example in this library reads through one option file rather than putting a username and password on the command line, where they would appear in shell history and process listings that other users on the same box could potentially see.
The command below uses a heredoc — the `<<'EOF'` syntax — to write several lines to a file in one step. The quotes around EOF matter: they tell the shell to treat every line up to the closing EOF as literal text, with no variable substitution, which is exactly what you want for a file containing a password.
cat <<'EOF' > /etc/vicidial-readonly.cnf[client]user=vicigeek_ropassword=<A_STRONG_PASSWORD>[mysql]database=<VARDB_DATABASE>EOFThis sample changes a system, contacts an outside service, needs a live call, or would print real data from a shared server, so it was not run on the demo. Run it only where you are authorized, and compare the result with the success and stop guidance.
- Before you run it
- Run this as root, using the same password and database value from the previous two steps. This file will hold a real password, so treat writing it with the same care as any other secret.
- Success looks like
- The file `/etc/vicidial-readonly.cnf` now exists with a `[client]` section for the login and a `[mysql]` section naming the database, so no later command needs to name the database again.
- Stop if
- If the file already exists with different content, decide deliberately whether to overwrite it — do not silently merge two option files by hand, since a malformed file fails in confusing ways.
05 / 09
Step 4: Lock down the option file
A file holding a password must not be world-readable, even on a disposable lab, and even though the account it unlocks can only read. Mode 600 means only the file's owner can read or write it at all — no group access, no access for anyone else on the box — and pairing that with root:root ownership means only root can read this particular password.
Read-only is not the same as harmless, which is exactly why this lockdown matters. On a build where password hashing is disabled at the system-settings level, as it is on our ViciBox 12 lab, a user's login password sits in plain text in its own table, and a phone's registration secret sits in plain text in its own table too — and a SELECT-only account granted across the whole database can read both, in full, alongside the campaign and lead data it was actually created for. That is why the option file guarding this account's password is root-only mode 600, and why no SQL sample anywhere in this library selects a password or secret column, even through this account.
chmod 600 /etc/vicidial-readonly.cnfchown root:root /etc/vicidial-readonly.cnfThis sample changes a system, contacts an outside service, needs a live call, or would print real data from a shared server, so it was not run on the demo. Run it only where you are authorized, and compare the result with the success and stop guidance.
- Before you run it
- Run both lines as root, immediately after creating the file in the previous step.
- Success looks like
- The file's mode and ownership are now restricted to root alone.
- Stop if
- If either command reports permission denied, you are not actually running as root; re-check your access before proceeding, rather than loosening the target permissions to work around it.
06 / 09
Step 5: Verify the lockdown took effect
Confirm the previous step actually applied, rather than assuming it did.
stat -c '%A %a %U:%G %n' /etc/vicidial-readonly.cnfCaptured demo response · 2026-09-23 21:35 UTC. The displayed command is the command that ran; a safe subset label means it was filtered, redacted, or fixture-scoped. Replays only after you select Replay transcript.
- Before you run it
- Run this as any user who can read the file's metadata. This does not open the file's contents.
- Success looks like
- The output shows mode 600 (rw-------) and root:root ownership, matching what Step 4 set.
- Stop if
- If the mode is looser than 600, or the owner is not root, repeat Step 4 rather than continuing — a readable credentials file defeats the entire point of this lesson.
07 / 09
Step 6: Verify the account reads
Confirm the account and the option file actually work together, end to end, before relying on either in a later lesson.
SELECT DATABASE(), CURRENT_USER();Captured demo response · 2026-09-23 21:35 UTC. The displayed command is the command that ran; a safe subset label means it was filtered, redacted, or fixture-scoped. Replays only after you select Replay transcript.
- Before you run it
- Run this through the option file you just built: `mysql --defaults-extra-file=/etc/vicidial-readonly.cnf -e '...'` — with no username, password, or database name on the command line, since the option file already supplies all three.
- Success looks like
- The result names the same database Step 1 showed you and the `vicigeek_ro` account — confirmation that the option file's [mysql] database= setting was honored and the login is exactly the scoped account you created.
- Stop if
- An access-denied error here usually means Step 2's password and Step 3's option-file password do not match; a wrong database name usually means a typo carried over from Step 1.
08 / 09
Step 7: Verify the account cannot write
The entire point of this lesson is an account that cannot change data even by mistake. Prove that directly, rather than trusting the GRANT statement alone — a permission model is only as trustworthy as your last test of it, and a five-second check here is cheap insurance against a typo in Step 2 that granted more than intended.
mysql --defaults-extra-file=/etc/vicidial-readonly.cnf -e "UPDATE vicidial_campaigns SET active=active WHERE 1=0;"Captured demo response · 2026-09-23 21:35 UTC. The displayed command is the command that ran; a safe subset label means it was filtered, redacted, or fixture-scoped. Replays only after you select Replay transcript.
- Before you run it
- Run this through the same option file. The WHERE 1=0 clause means this statement would match zero rows even if it were allowed to run — it exists only to test permission, not to touch any real row.
- Success looks like
- MariaDB refuses the statement with a permission-denied error and the command exits with a non-zero status. That refusal is the successful result this step is checking for.
- Stop if
- If this statement succeeds instead of being refused, stop using this account immediately — it was granted more than SELECT, and every downstream lesson that trusts it is at risk until you drop and recreate it correctly.
09 / 09
Step 8: Know the rollback, then reuse it everywhere
If you ever need to remove this account — replacing the password, decommissioning the lab, or starting over — dropping it is the complete rollback; nothing else in this lesson needs to be undone separately, since the option file alone grants no access once the account behind it is gone. Removing a SELECT-only account carries none of the risk of removing a production account with real dependents, which is one more reason to prefer this shape of account for learning.
Once this account and option file exist, every later lesson in this library that reads VICIdial's database from a terminal assumes exactly this setup: the same `/etc/vicidial-readonly.cnf` path, invoked with `--defaults-extra-file`, never a username or password typed on the command line. You will not see this account created again in any later lesson — you built it once, here, and it is reused by name for the rest of this curriculum.
If you ever rebuild this lab from scratch, repeat this entire lesson before attempting any SQL example elsewhere in this library. A SQL sample that references `/etc/vicidial-readonly.cnf` is not broken if that file does not exist yet on a fresh install — it is simply waiting for you to have completed this lesson first.
mysql <<'SQL'DROP USER 'vicigeek_ro'@'localhost';SQLThis sample changes a system, contacts an outside service, needs a live call, or would print real data from a shared server, so it was not run on the demo. Run it only where you are authorized, and compare the result with the success and stop guidance.
- Before you run it
- Run this as the MariaDB administrator, the same way you ran Step 2.
- Success looks like
- MariaDB reports the statement executed with no error. The account no longer exists, and the option file at /etc/vicidial-readonly.cnf becomes useless on its own — delete it separately if you want the file gone too.
- Stop if
- An 'unknown user' error simply means the account was already removed; there is nothing further to roll back.
Evidence ledger
Verification basis
- Step 7 directly attempts a write through the new account and expects MariaDB to refuse it, rather than assuming the GRANT statement alone is sufficient proof.
- The account's only privilege is the single GRANT SELECT statement in Step 2; nothing later in this lesson widens it.
Primary references
Sources
- CREATE USER — MariaDB Server documentationMariaDB · accessed September 23, 2026
- GRANT — MariaDB Server documentationMariaDB · accessed September 23, 2026